
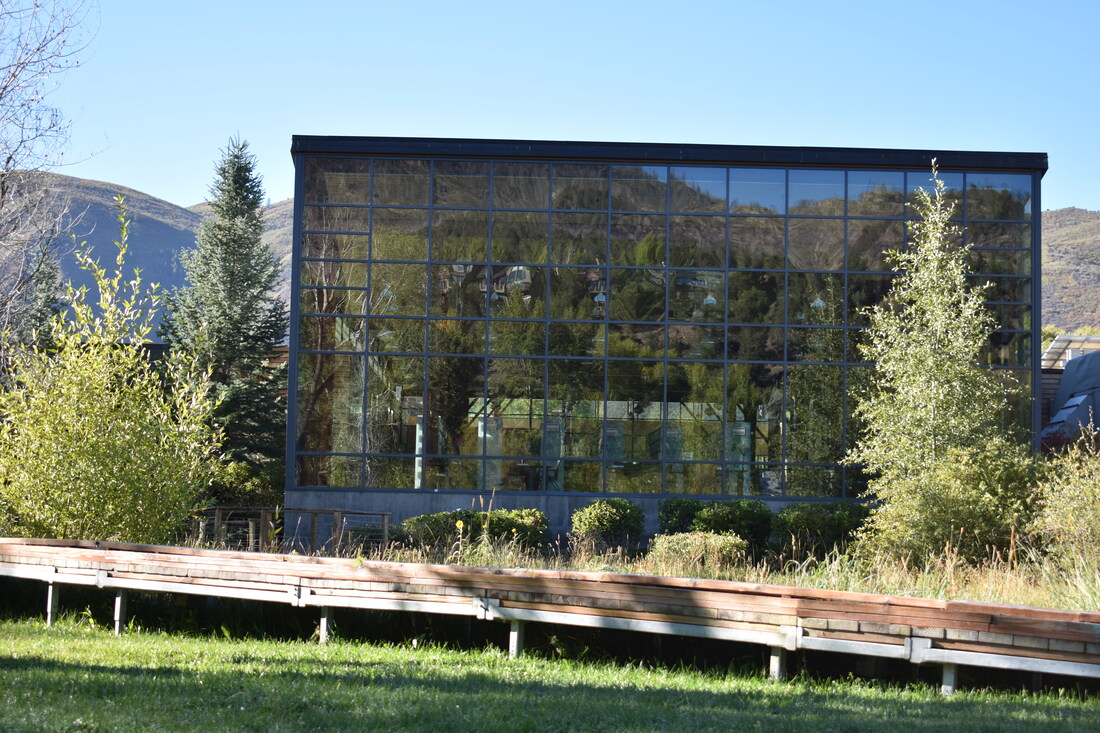
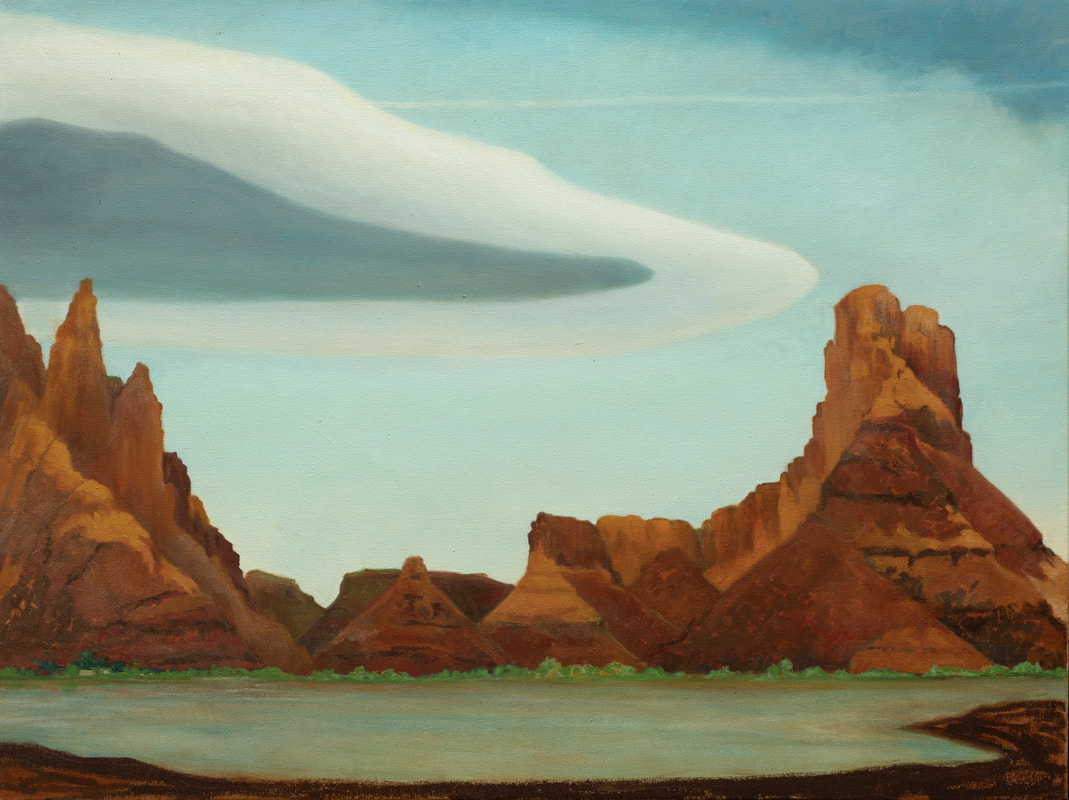
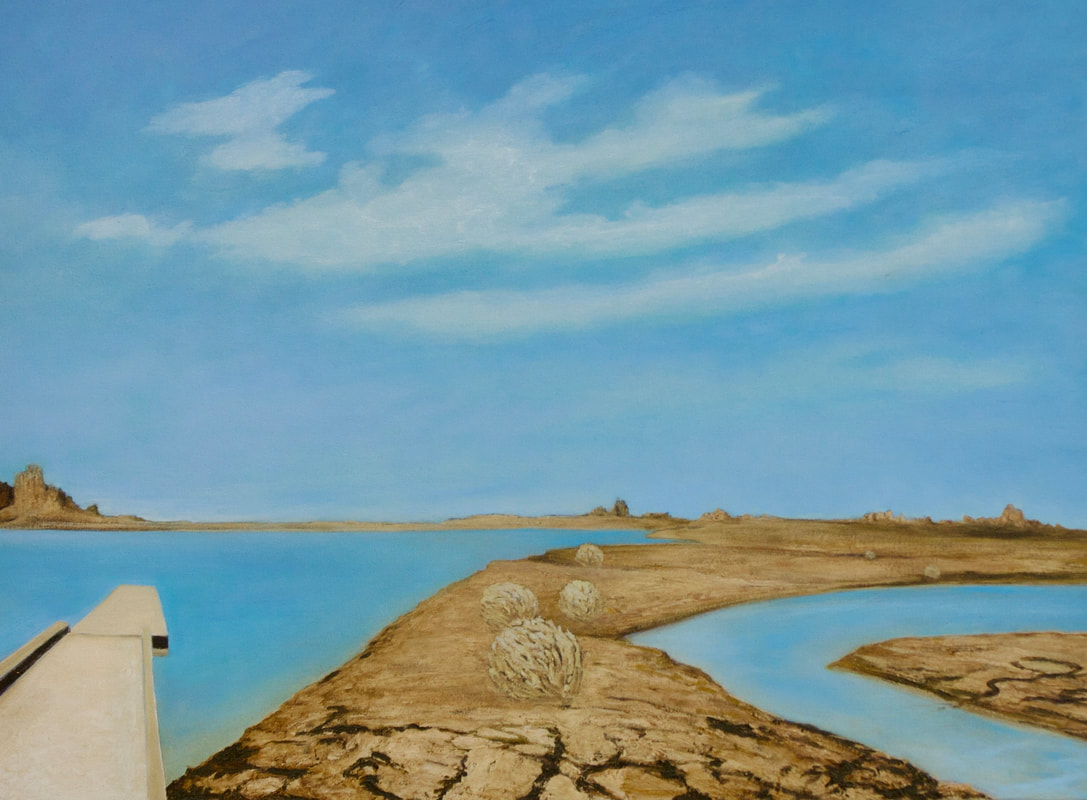
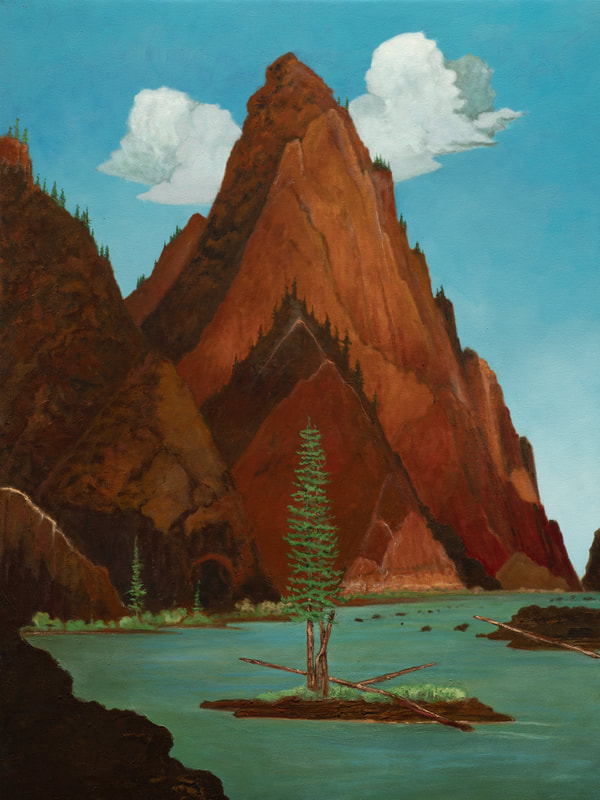
Over the Fourth of July weekend, the BRL installed new artwork in the central library room and in the lobby gallery. We are delighted to have Patrick Kikut’s work from the Sesquicentennial Colorado River Exploring Expedition (SCREE) celebrating the 150th anniversary of the original Powell river trip.
Patrick Kikut Biography In 1987 at the age of 21, I was in Boulder, Colorado when I started thinking of myself as an artist. It was here where I developed an approach to my studio work usually begins with a desire to learn (and experience) a particular space or a stretch of highway somewhere in the Western United States. Rather than exploring the Rocky Mountains at my backdoor, I was drawn to the high plains and the less spectacular landscapes of the West. A quick look at American Art History taught me that the “Expedition Artists” of the 1800s did an excellent job of depicting what is now considered the most dramatic landscapes that are now protected under the National Park system. With this understanding, I decided that I would focus on the miles and miles of landscapes in between the National Parks and Forests the West. Here I can see the push and pull of our ever- encroaching culture and the forces of nature. I earned my BFA from the University of Colorado and my MFA from the University of Montana. I have taught at the college level for over 30 years at Highlands University of New Mexico, University of Texas El Paso, and most recently the University of Wyoming where I taught for 17 years. My work can be found in the public collections of, Nevada Museum of Art, Eiteljorg Museum, Art Museum of Missoula, and the Nicolaysen Museum among others. Artist Statement A critical component of what I call my artistic job description is to travel via highway throughout the Western United States. It is a priority for me to get out into the landscape as much as I possibly can. This tactic has provided me with what I think of as an expansive and unique “artistic neighborhood.” This “artistic neighborhood” reaches from Great Falls, Montana in the North, to El Paso (or Marfa) Texas, in the South, and from Dodge City, Kansas, and West to Reno, Nevada. This is where I have primarily operated for the last 35 years. I cherish every opportunity to drive out into the Western landscape. I feel like I am keeping an eye on things out here. I see development come and go through boom-and-bust cycles. I can see landscapes being encroached upon and in other places development dissolving back into the land. It is my hope that my work represents the enduring beauty and fragility of the everchanging West. In the central library room, Mr. Kikut’s large scale paintings are on exhibit until January 2024. The watercolor field drawings are hanging in the lobby gallery through September. For further information on the artwork, please contact the artist: Email - pkikut@gmail.com Website - patrickkikut.com
0 Comments
The Legendary Library Party on Friday, April 28th was a blast! We got to meet new friends and greet old friends. We had music, dancing, food, drinks, books and more! We were so happy to see everyone who joined us, and can't wait to do it again next year. Check out these scenes from the amazing night. 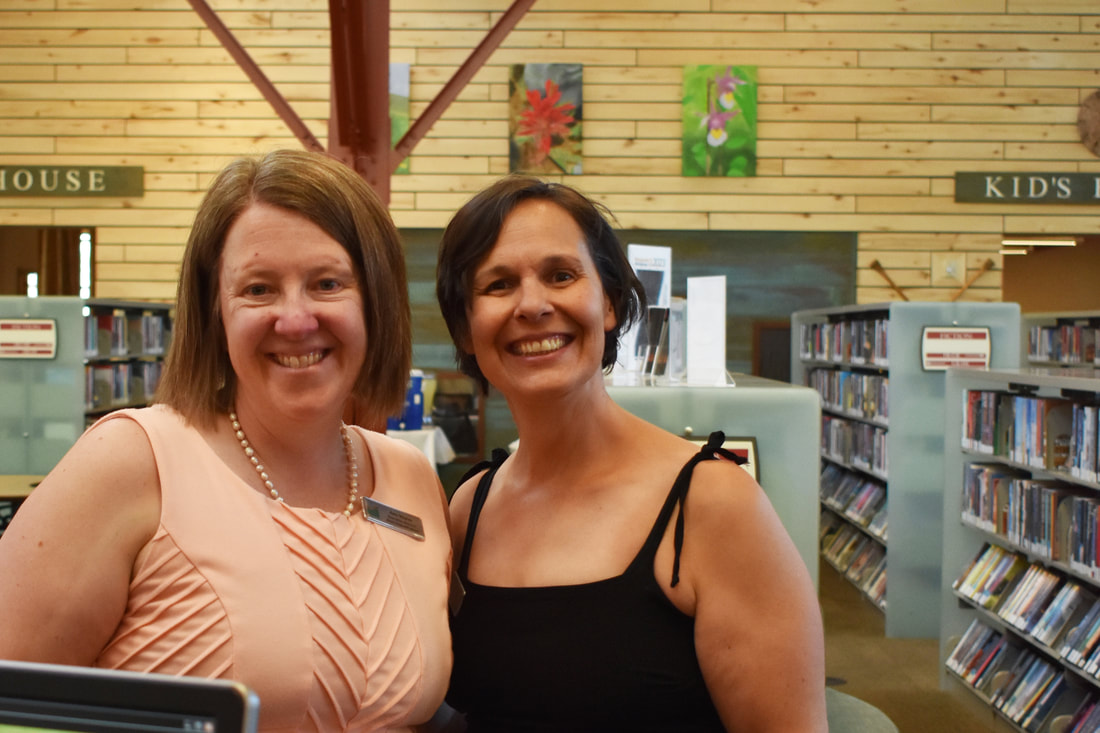  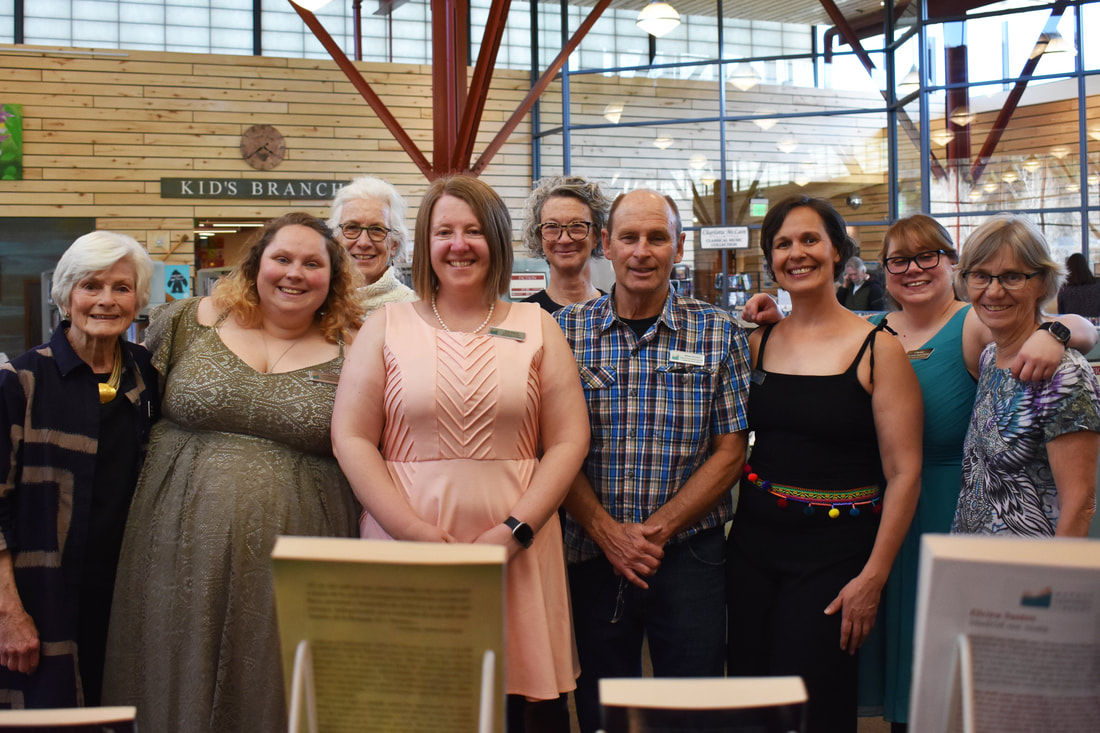    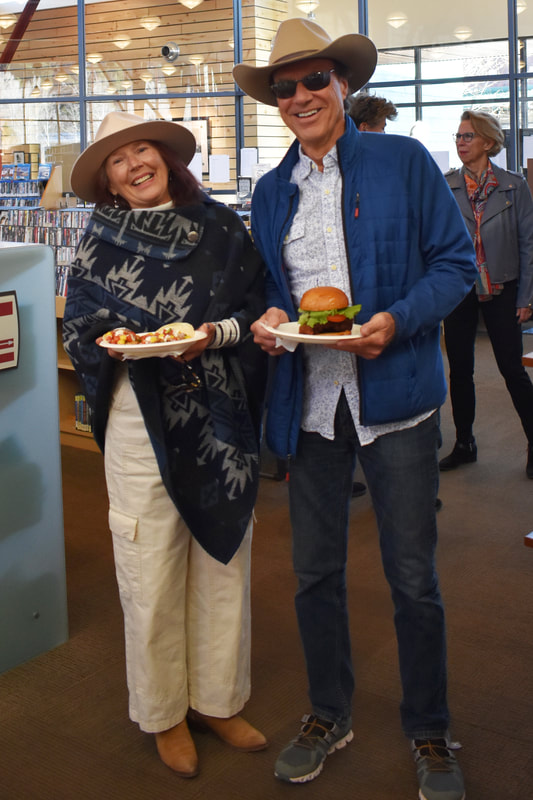  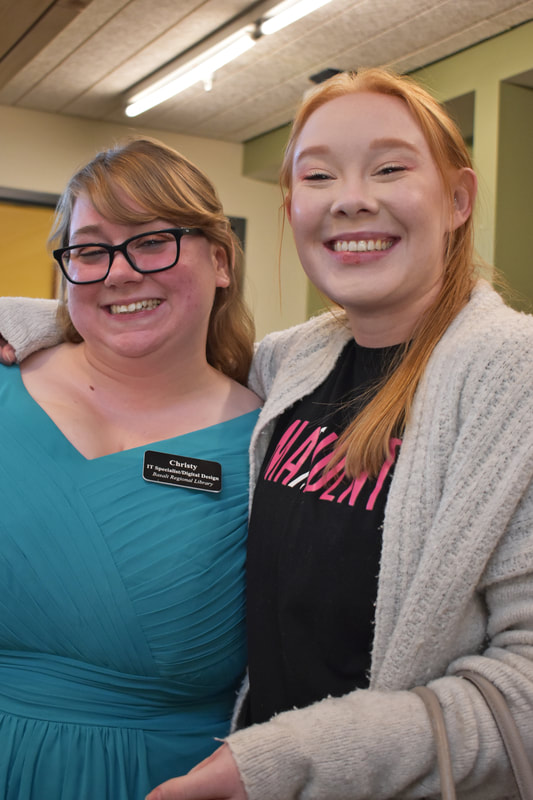 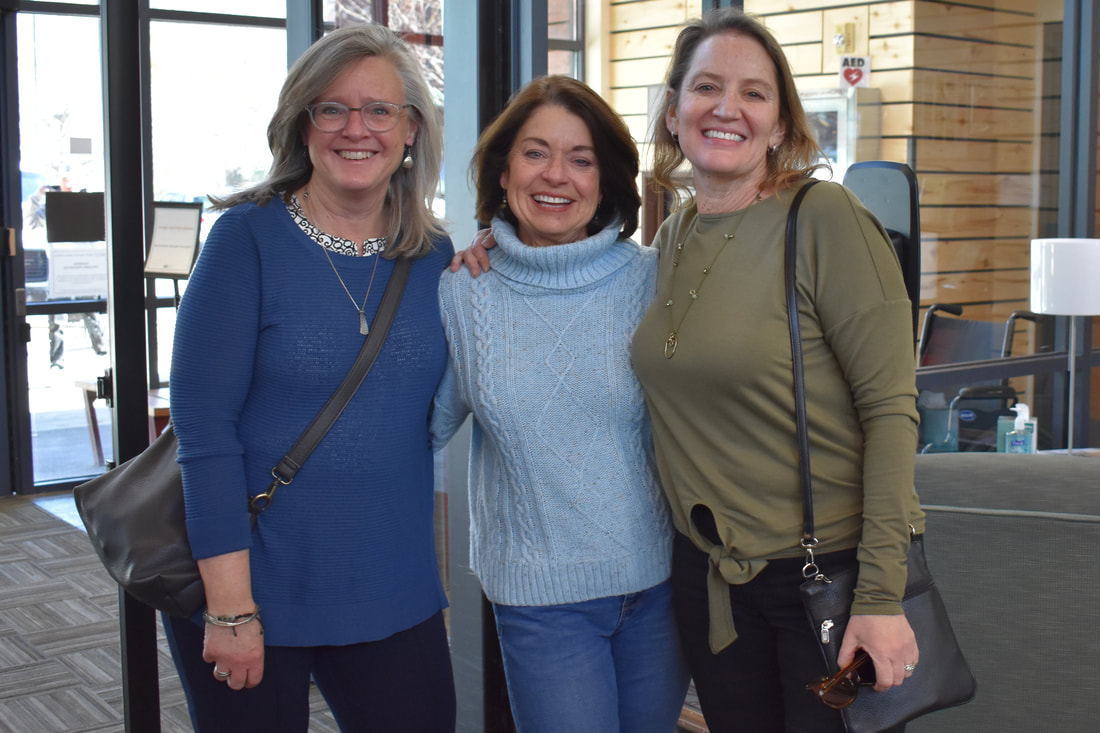 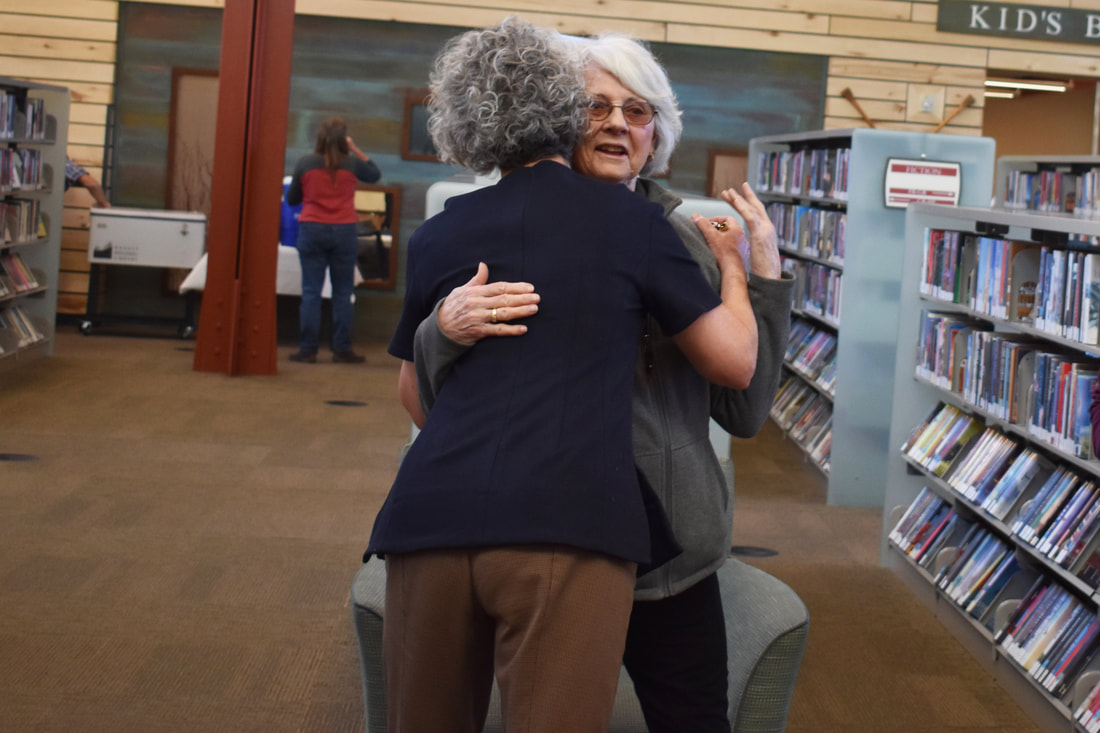 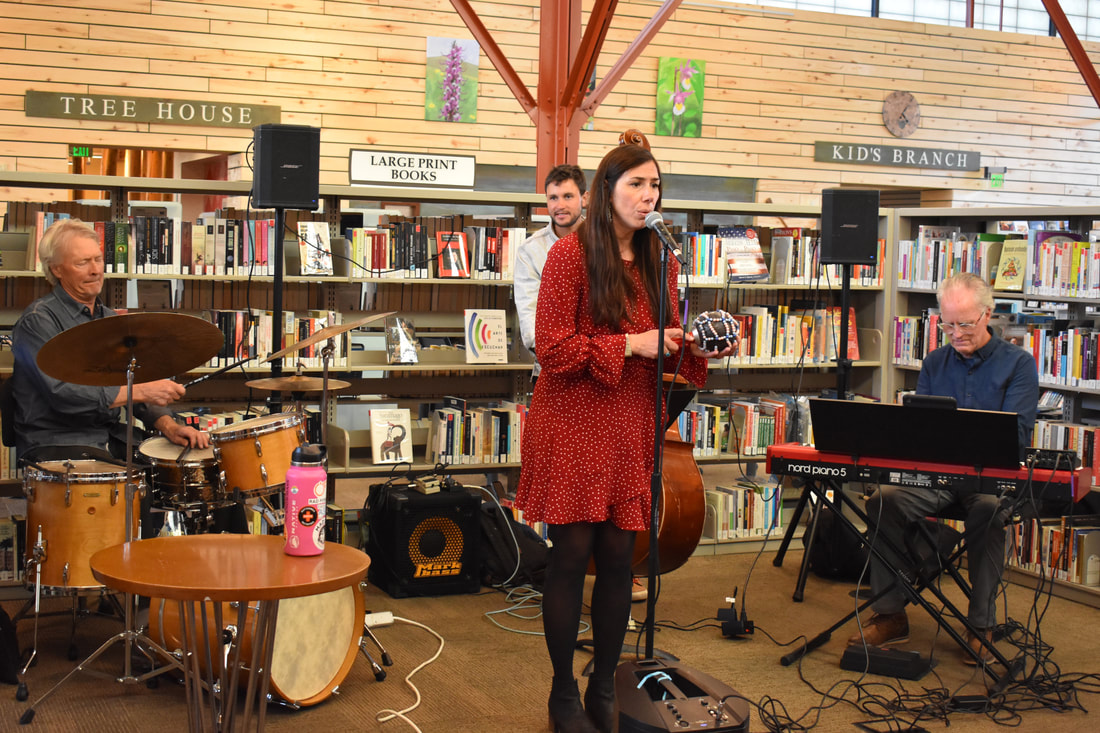 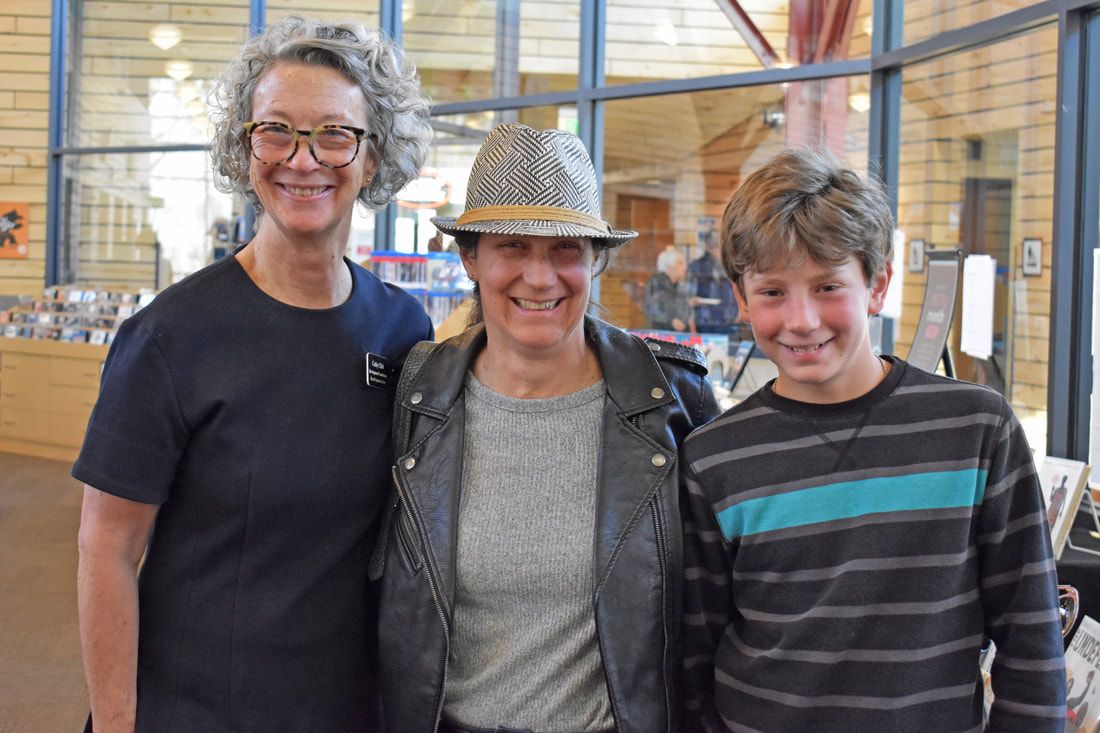 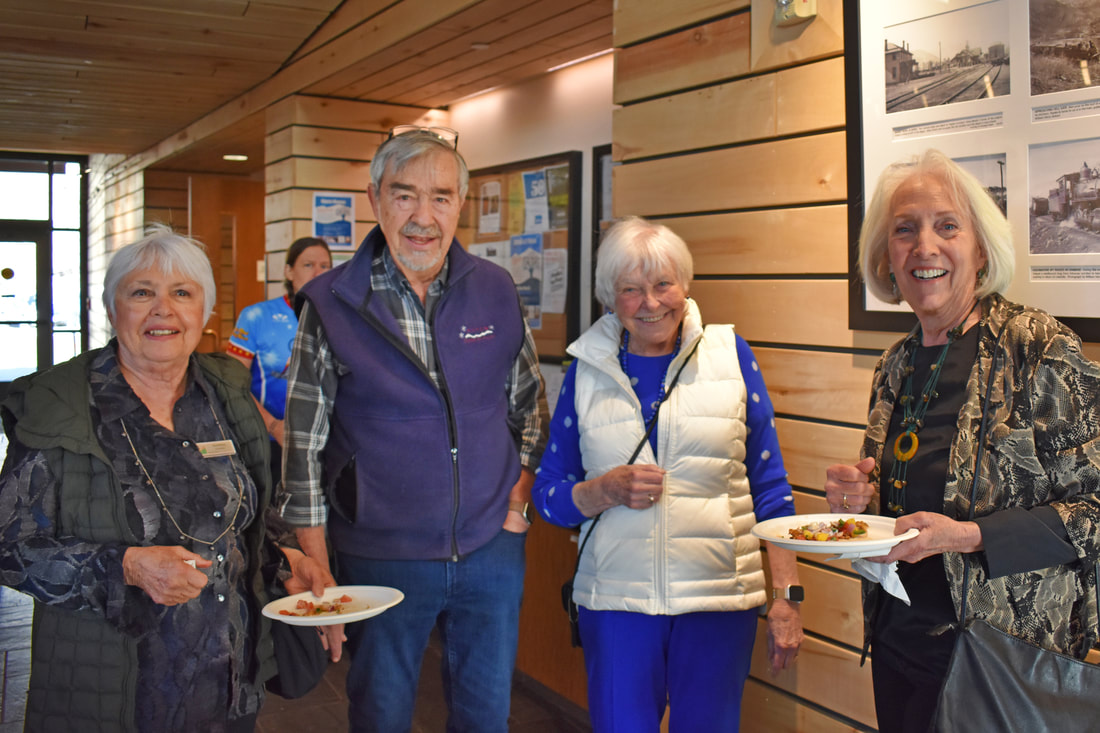 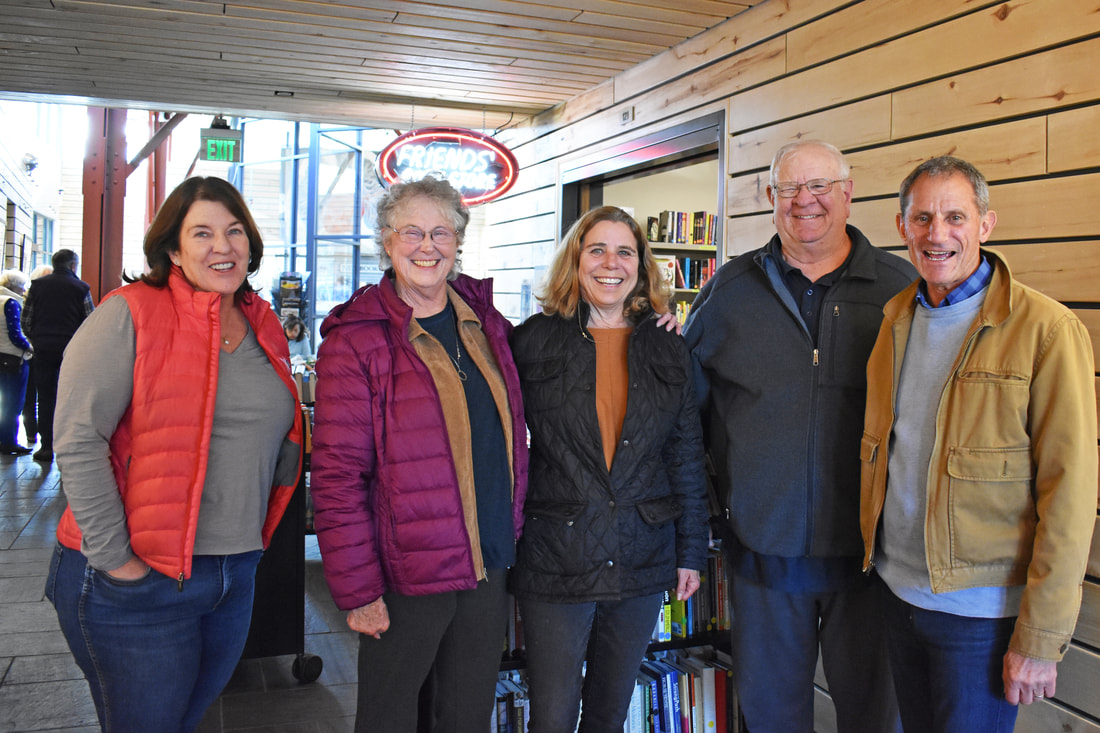  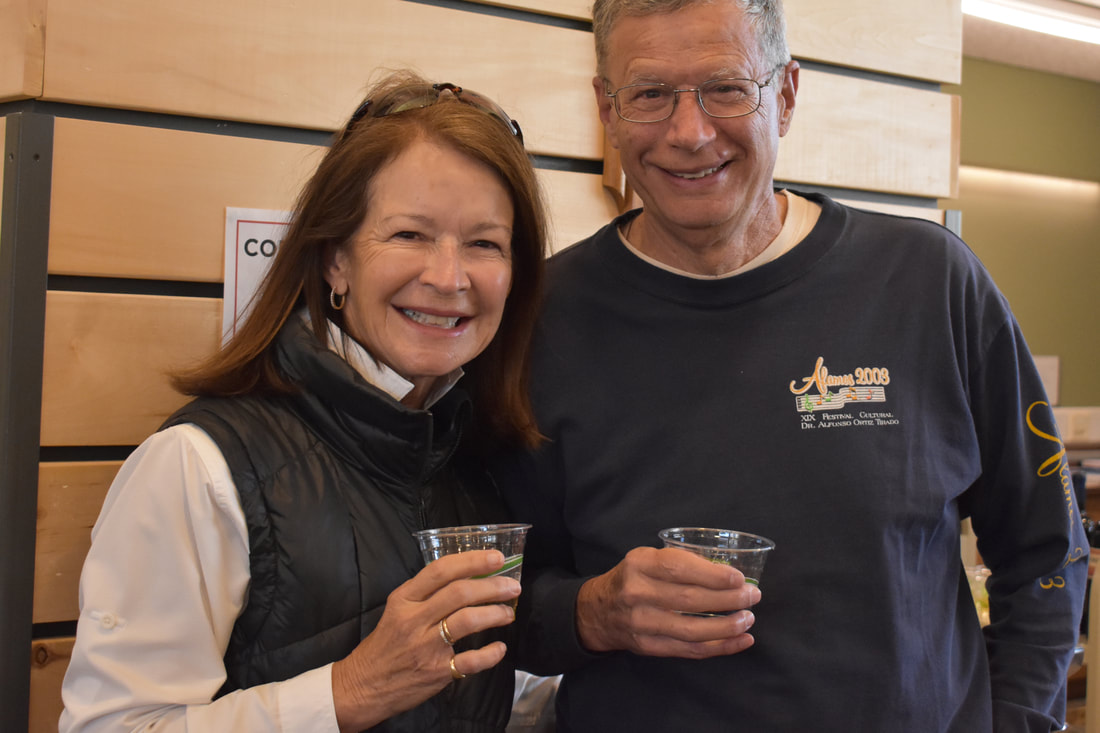  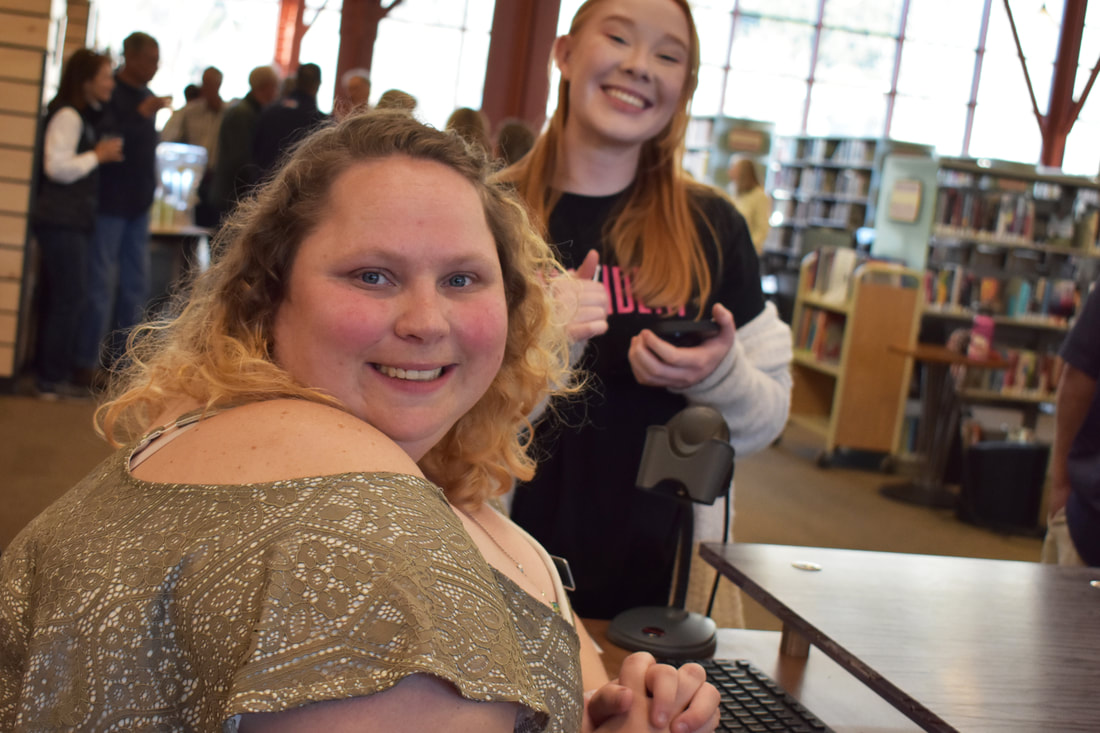  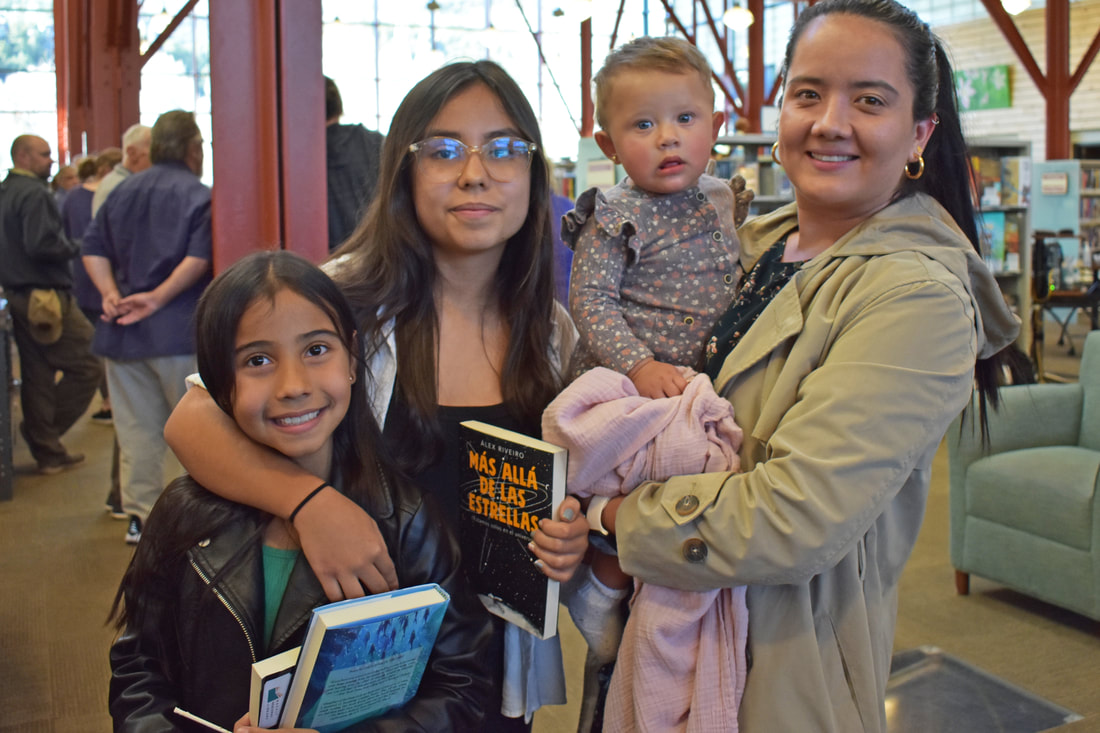 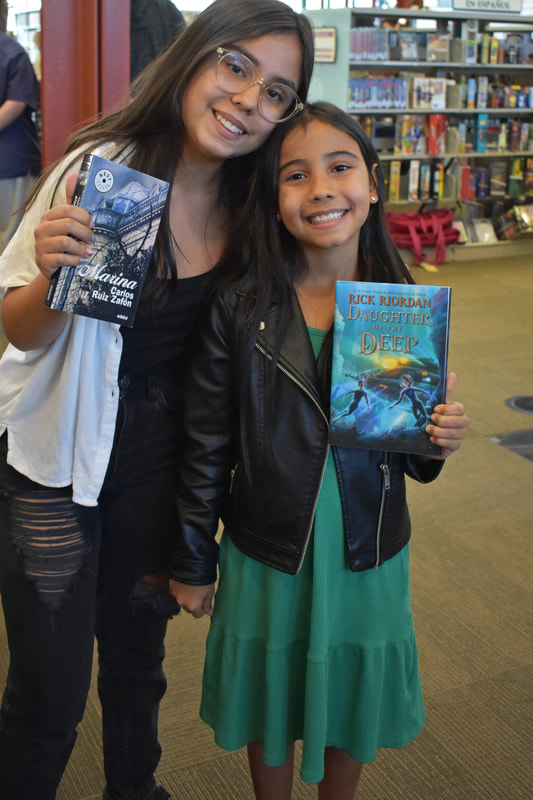 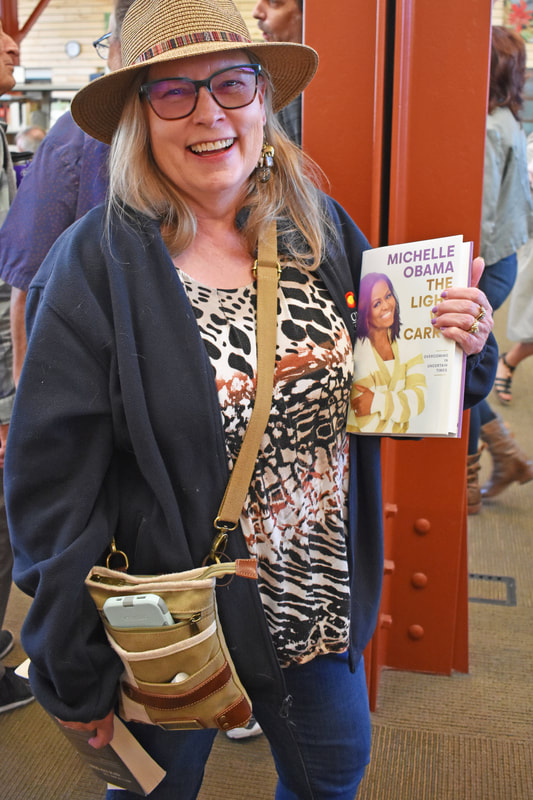 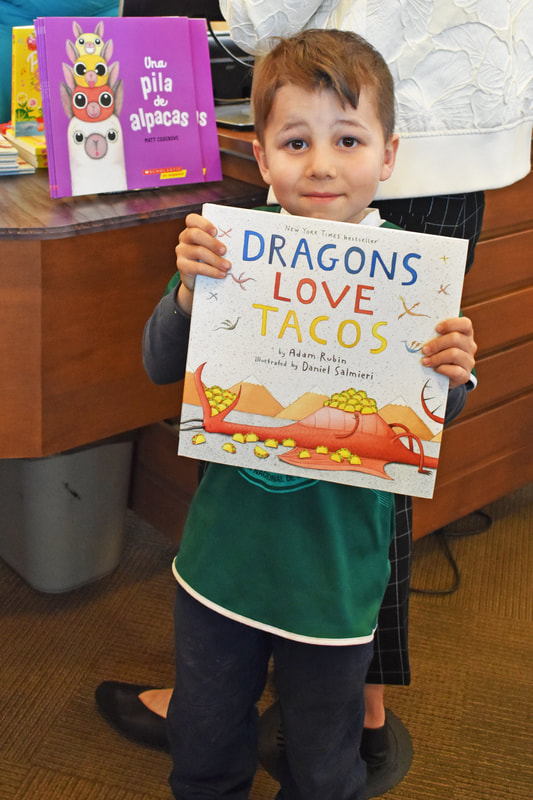  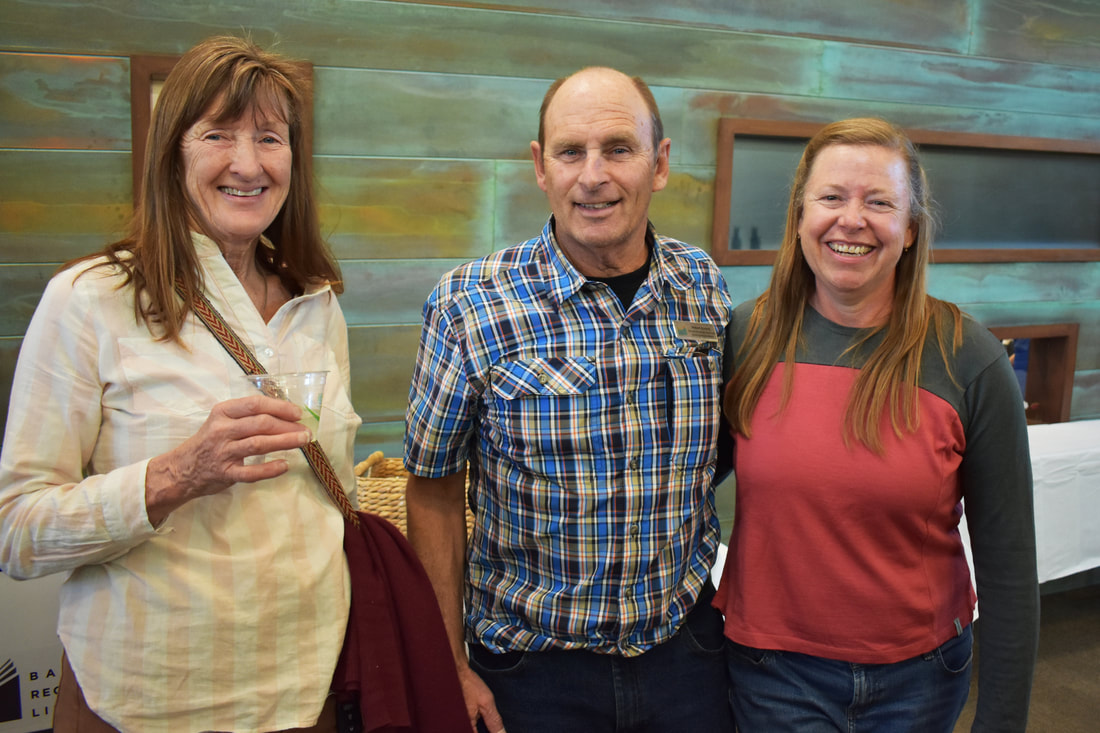 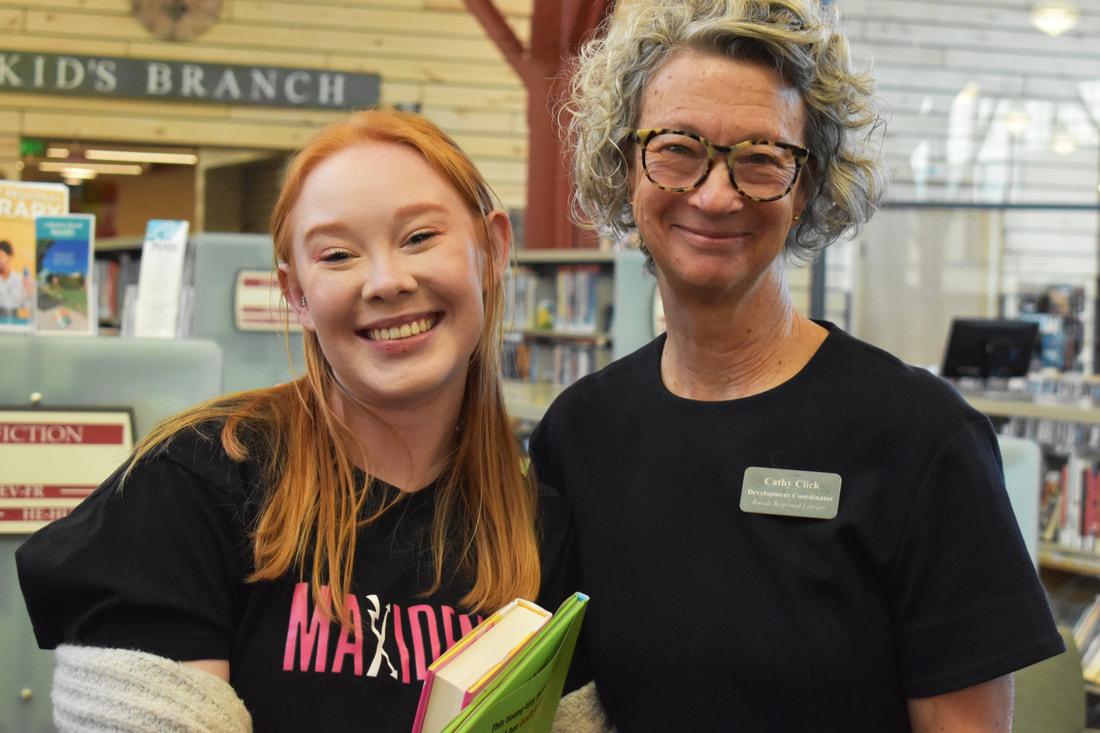  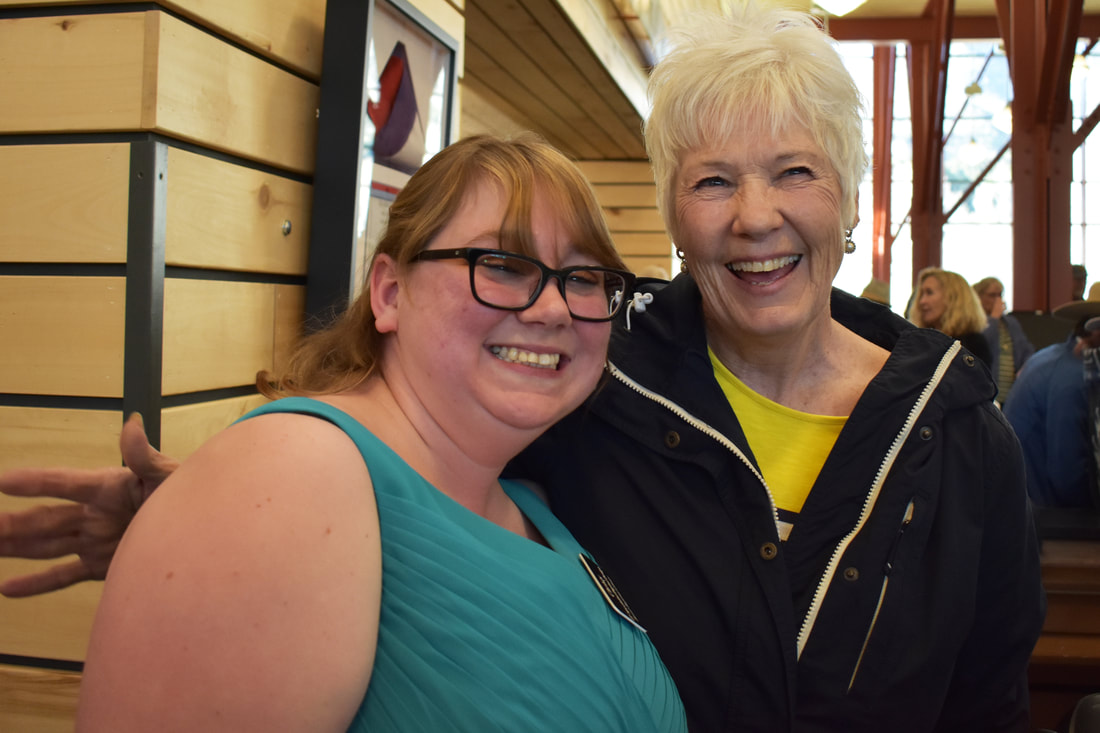 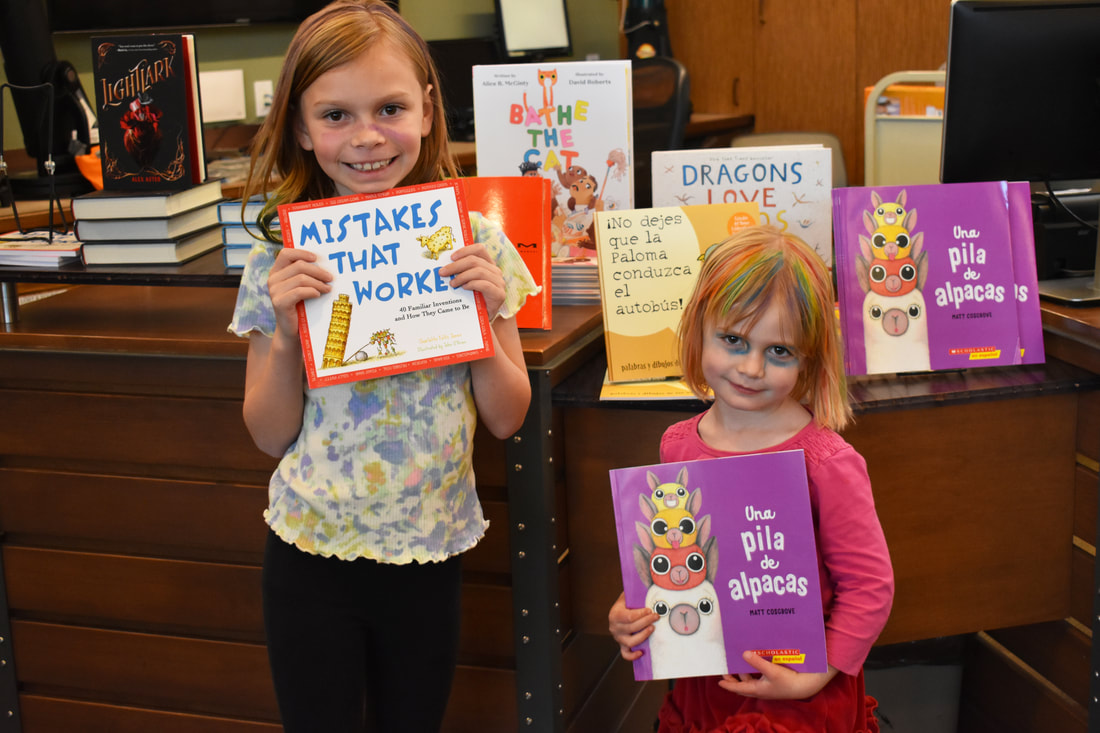  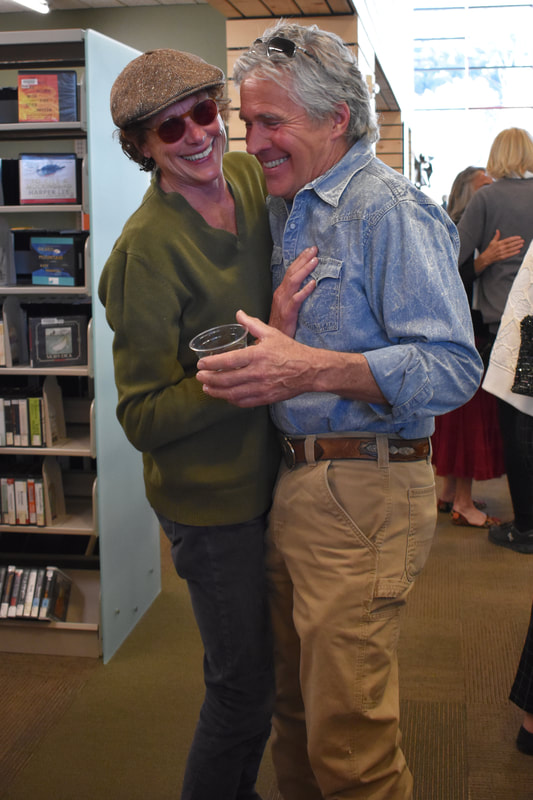 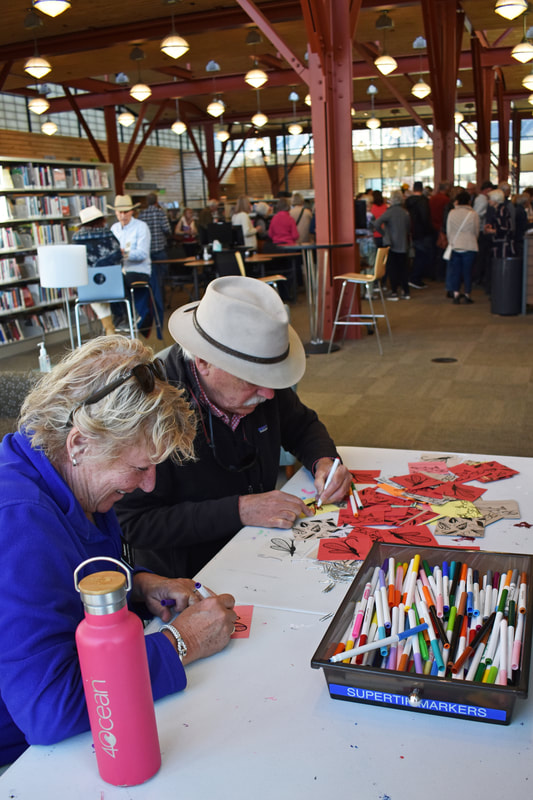       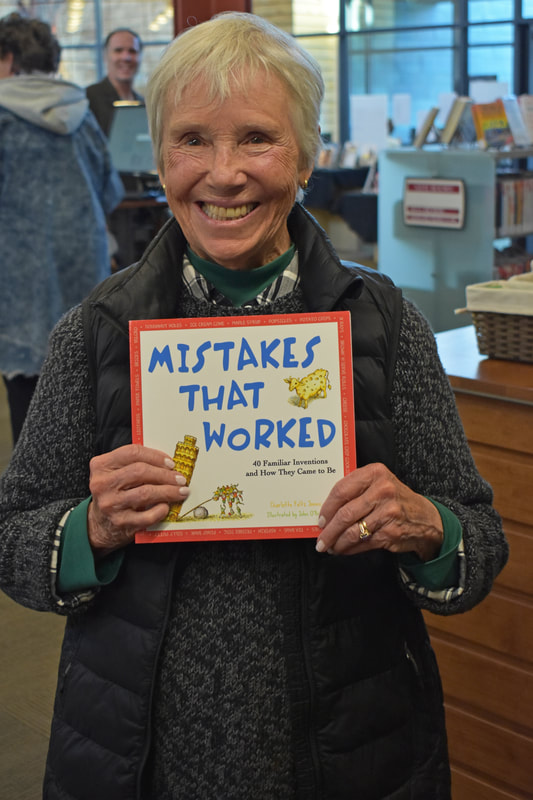 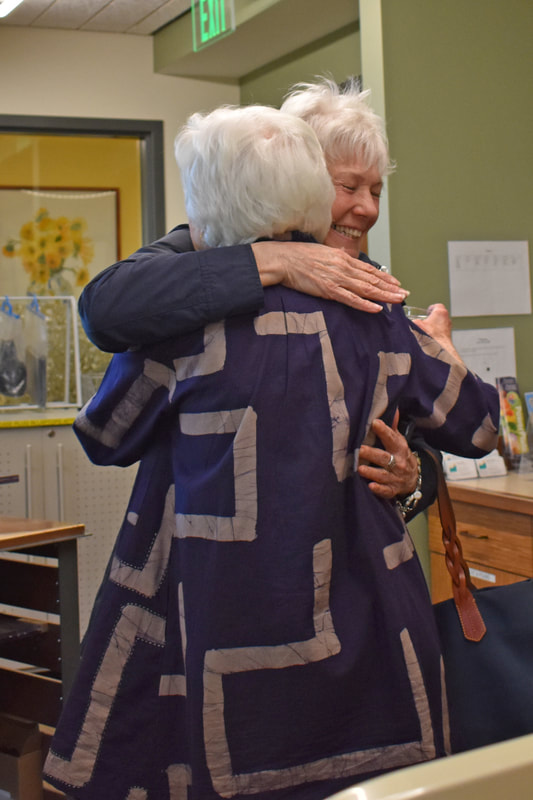 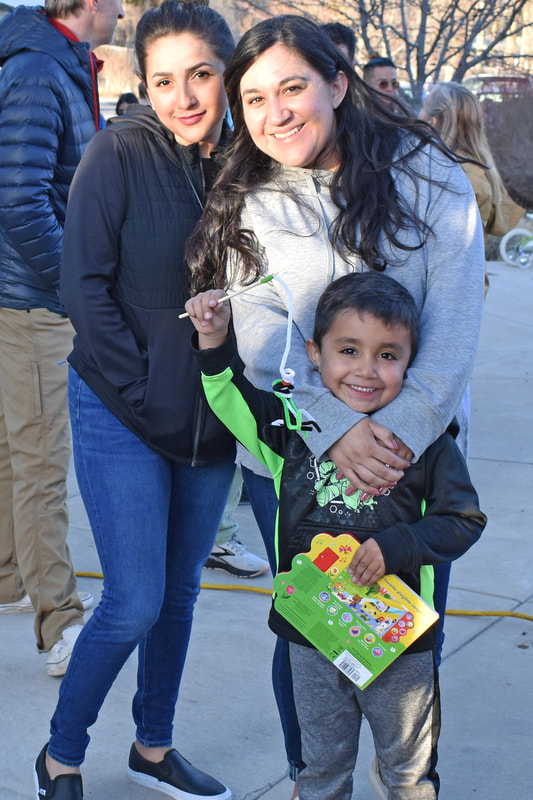 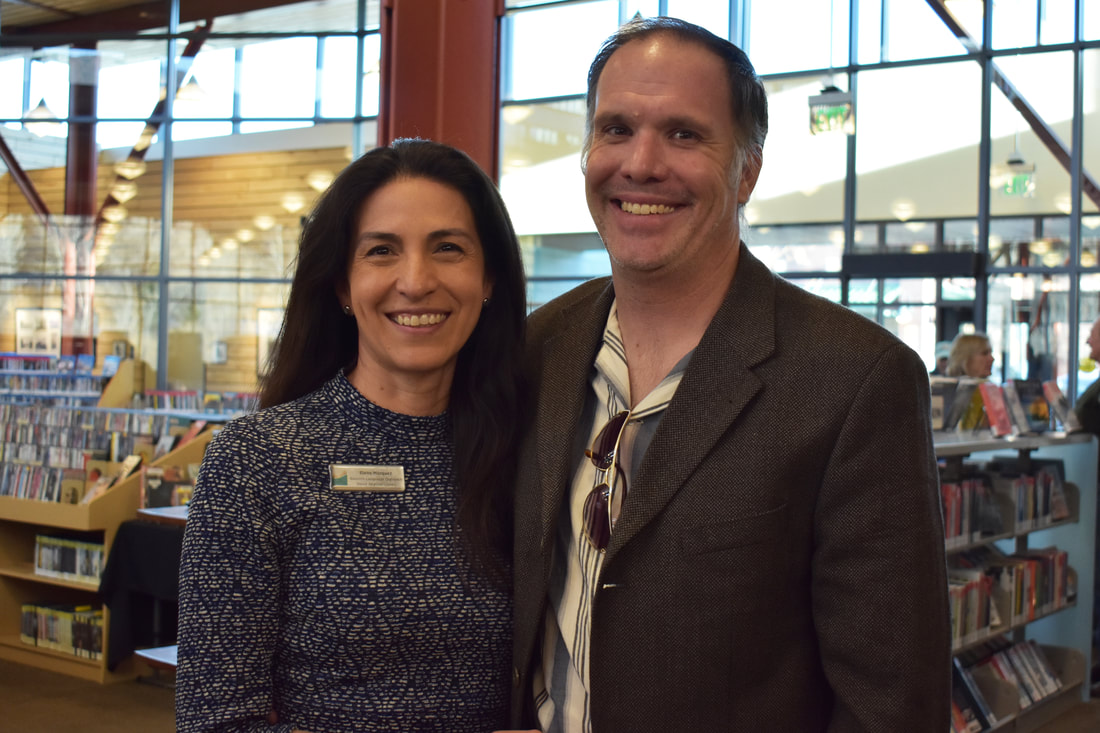 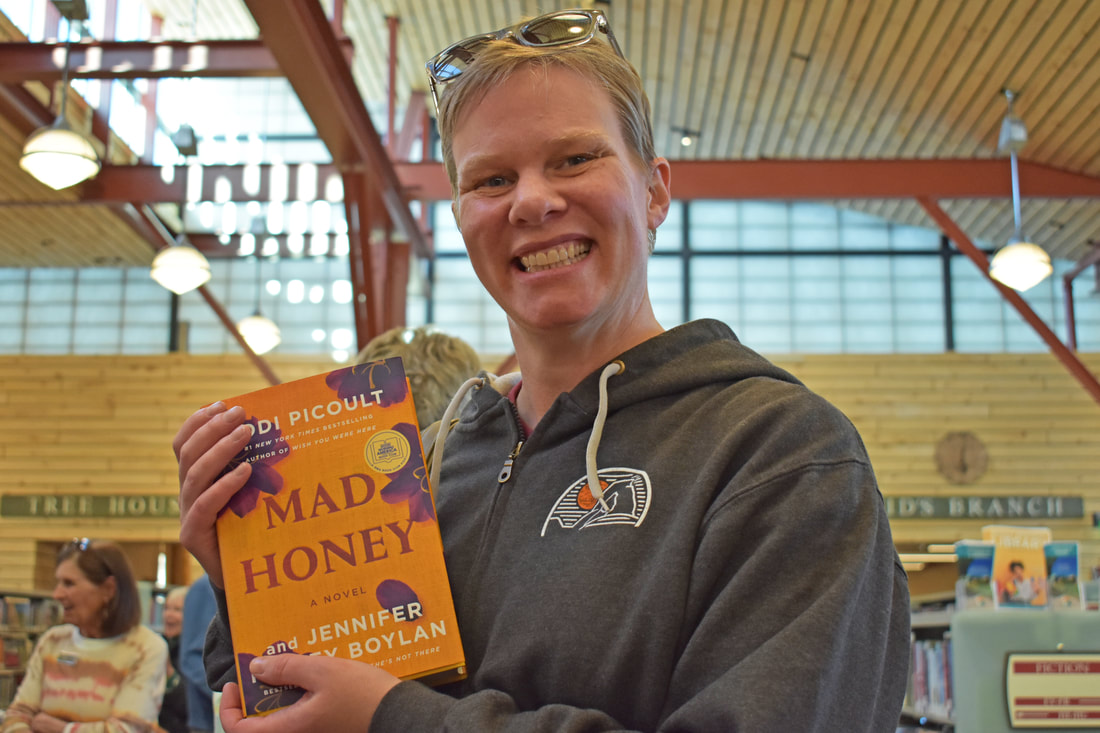  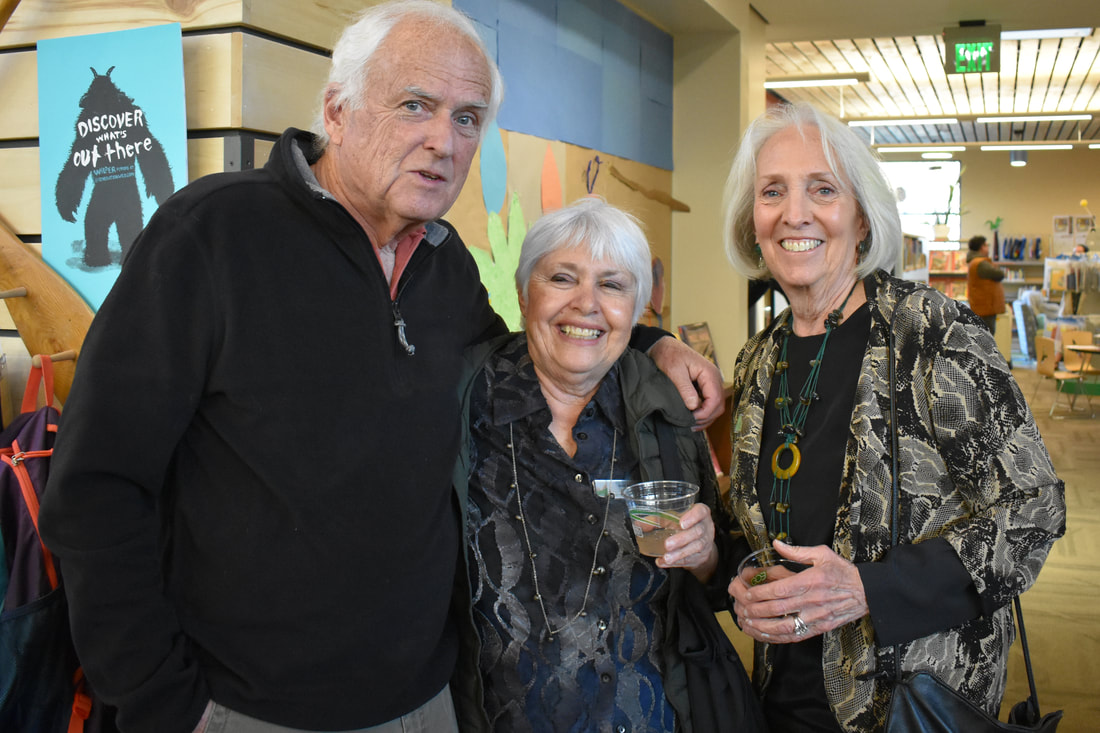 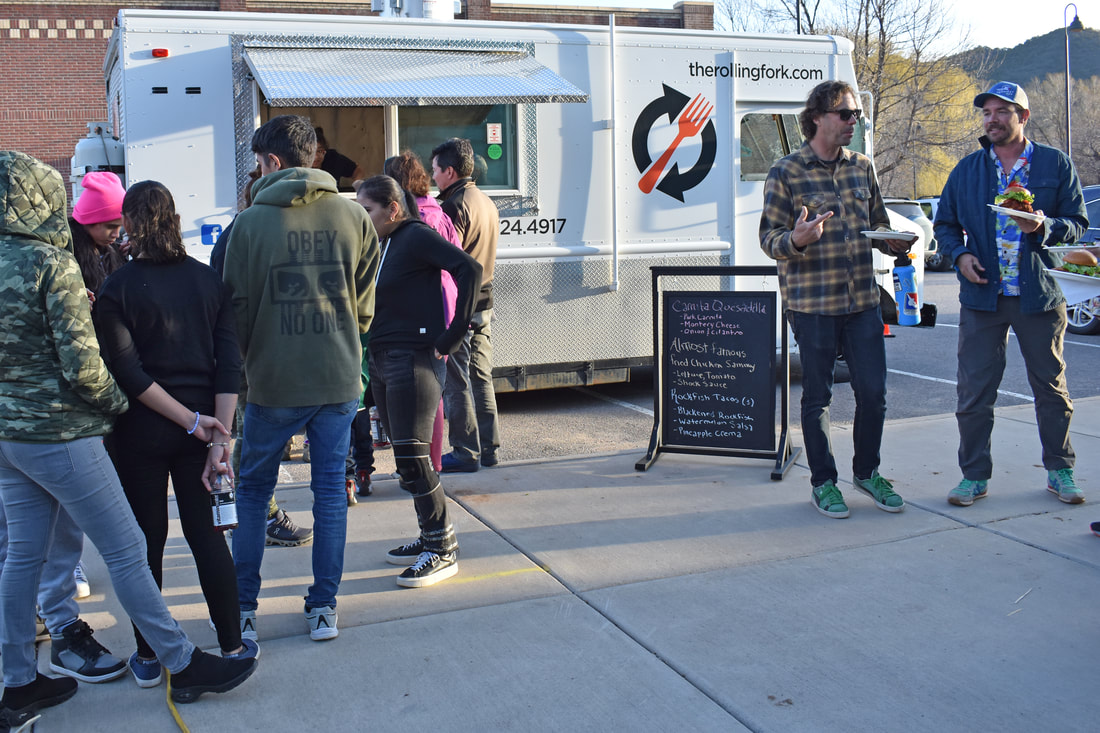 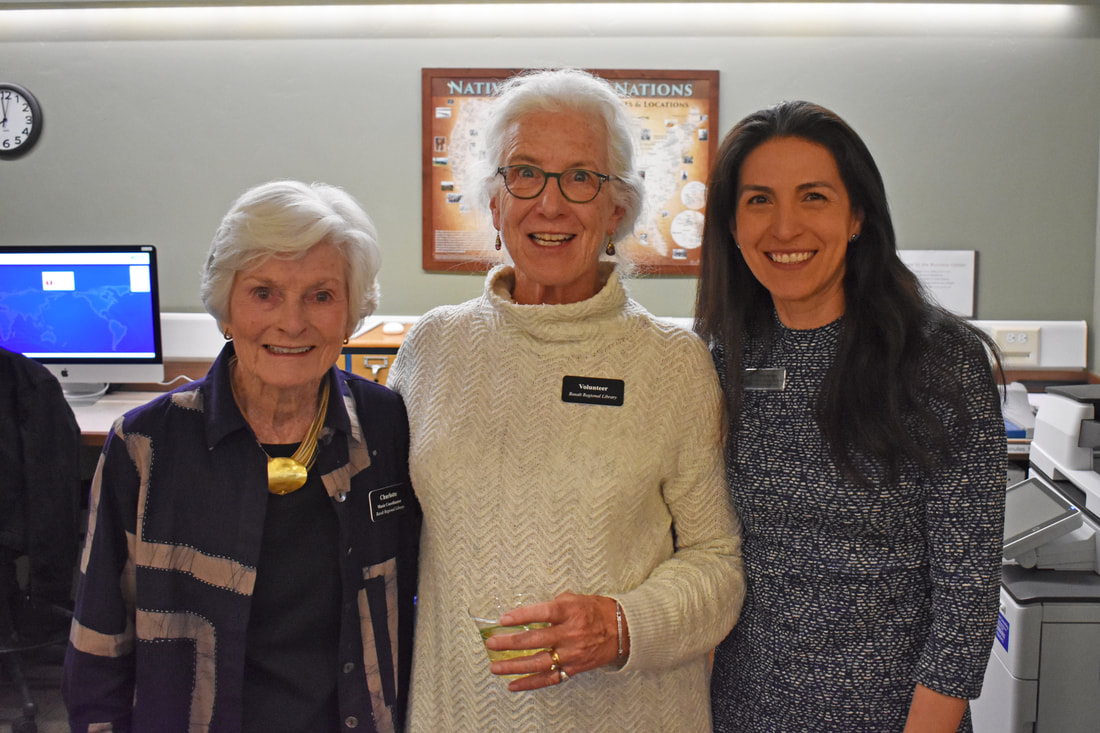  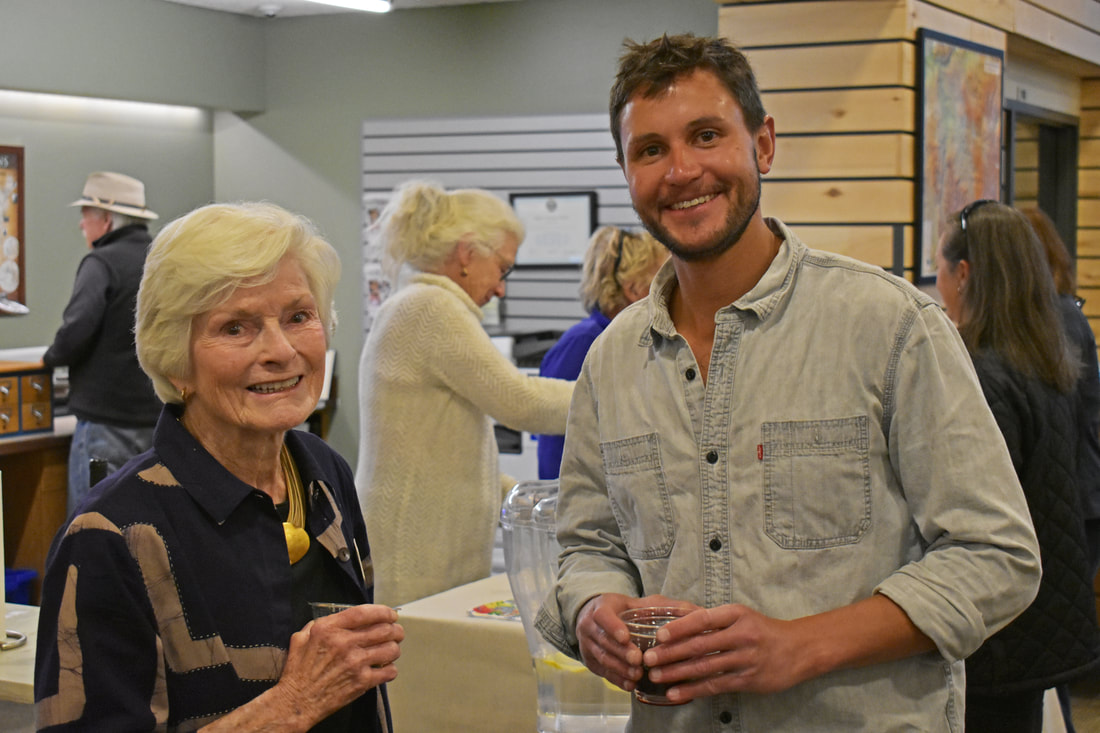 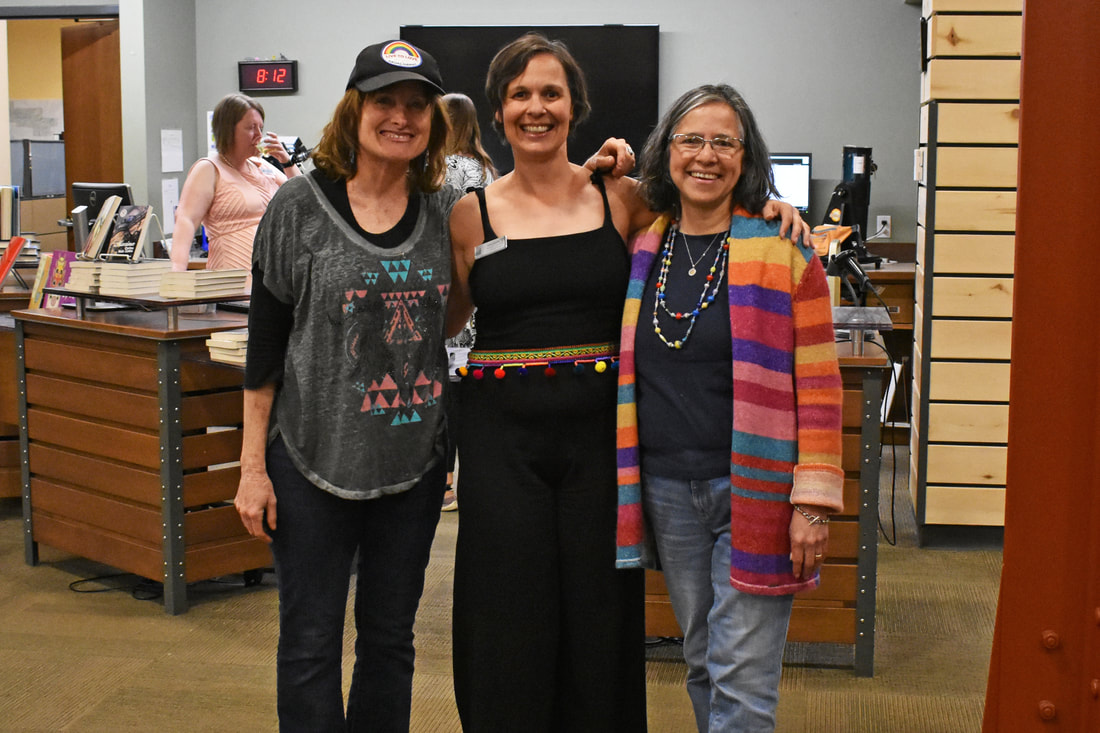 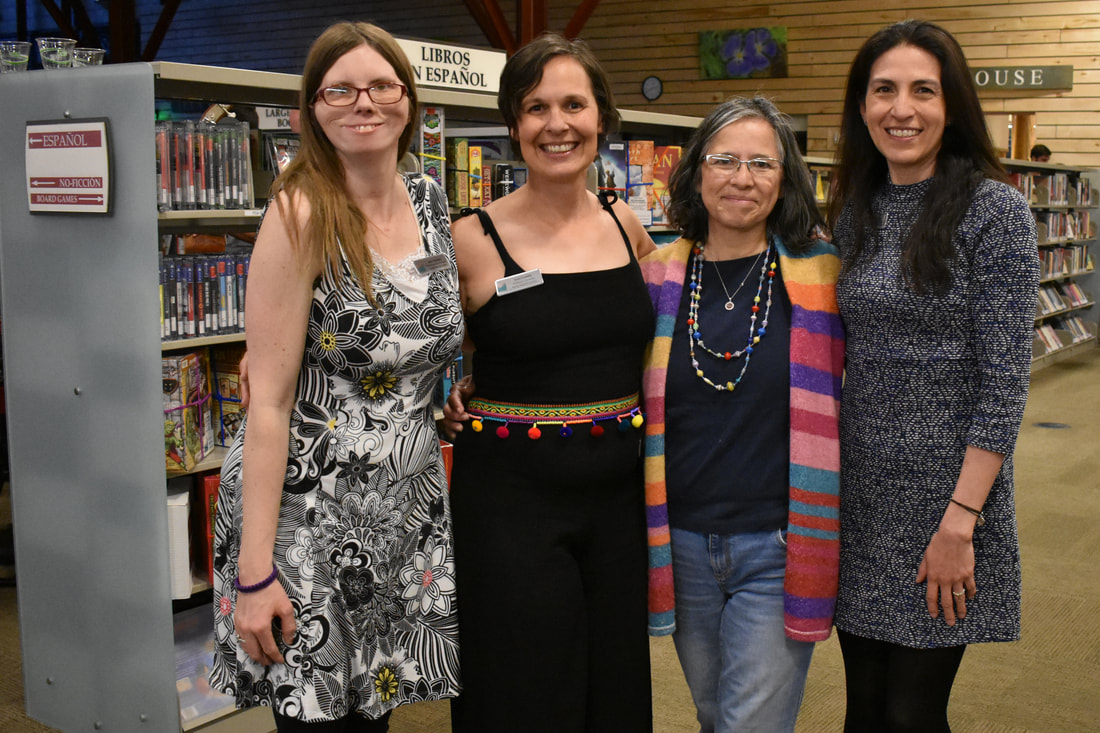 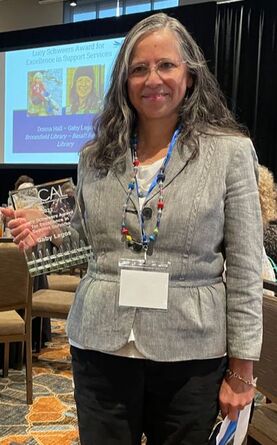 Your community library has many amazing people working not only at the front desk, but also behind the scenes to make sure your time in the library is great. One of those people is our Technical Services Associate Gaby Lagos. Gaby has worked at the library for 5 years, and volunteered at the library before joining our staff. She splits her time between repairing books, maintaining the magazine collection, working the desk, and a thousand other tasks that help make this library the place to be. Read on to learn more about Gaby, her accomplishments, and what brought her to this library.
 On Saturday, April 22 the Basalt Regional Library will “Invest in our Planet” for the 2023 Earth Day celebration. Joining forces with the Roaring Fork Conservancy, the library will host a Storytime at 11 am in Midland Park to celebrate the annual River Clean Up taking place the week of April 17.
The library has offered to clean up the riverbank and creek area adjacent to the wetlands in front of the library. We are thrilled to recognize and participate in the good work of the Conservancy and its dedication to protecting our own Gold Medal Rivers. In other Earth Day news, have you seen the new Electric Vehicle Chargers at the library? With funding from the Aspen Skiing Company Environment Foundation and Charge Ahead Colorado, these Level II EV chargers were installed during the winter for use by our patrons and community. While the project is not entirely complete, the chargers are ready for service. Instructions may be found on the units. The library EV chargers are part of Colorado’s initiative to lower emissions throughout the state. We are proud to be a part of the solution to climate change in our community and beyond. Finally, we are delighted to announce the addition of a permanent bike pump near the east entrance of the library. This Capstone project was the brainchild of Miles Johnson, a senior at Basalt High School. Miles raised the funds, purchased and installed the pump a stone’s throw from the Basalt extension of the Rio Grande Trail and right outside the library’s door. We honor our mission – to afford our community free and equitable access to information, tools and connections that nurture lifelong learning in a safe and welcoming space – through partnerships with WE-cycle (our own station on Midland Avenue!), the Town of Basalt Green Team (compostable and recyclable products used at all our events), the ASC Environment Foundation, Charge Ahead Colorado, and innovative community members like Miles. Remember, if you are biking in or out of town and notice your tires are a little low, or your electric vehicle needs an additional few minutes of charging, you now have convenient and permanent places at the library to fill up! 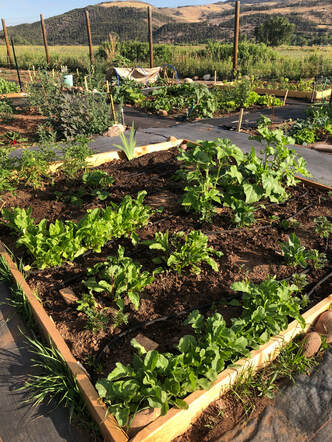 The library will once again have a garden plot at the Basalt Community Gardens. Our plot will feature seeds available through the library, courtesy of our generous supporters and maintained by a team of volunteers. Throughout the growing and harvesting season, we hope to provide new and experienced gardeners an example of the kinds of bounty that can come from just a few plants.
Not that it is always successful! Some years, we have more volunteers, or it is hotter, or the automatic watering system has a glitch. Maybe some of the seeds don’t sprout, or companion plants take over and go crazy. These are all things that can happen in any garden, at any time. The library plot is an opportunity to commiserate and celebrate the joys of a kitchen garden. We participate in the Grow & Give program, which takes donations from gardeners to local food banks. In addition to our on-going partnership with Harvest for Hunger, we will have produce from our plot available at the library on Tuesdays and Fridays once we are able to harvest. We are so happy to announce the library has received seeds for distribution this year from new donors. We are grateful to these organizations for replenishing our seed stock: Botanical Interests, High Mowing Organic Seeds, The Living Seed Company, and Seed Programs International. New this year are flowers! Many of the flowers are companion plants to vegetables, like marigolds to tomatoes. Please come browse our seed collection, or pick up a kitchen garden starter set. And if you need some refreshers, visit the library YouTube channel for our videos with Denyse Schrenker of the CSU Extension Office/Eagle County. It is definitely that time of year again!  If you are ever at the library any day between Tuesday-Saturday, chances are you might have seen Amy Schuster around the building. She can be seen in different areas throughout the day including up at the front desk, in the kids branch, between shelves OR hiding in the back offices. Whatever she is doing, she is always on a roll to make sure that the library is functioning, books are being checked in and maintained, and assisting patrons. Read on to learn more about Amy, one of our patron services associates!
 Esta obra de Guillermo Fesser, publicada en el año 2022 y que se encuentra en la Biblioteca de Basalt, está basada en la vida real de Marcelo Hernandez, también bajo el nombre de Marcelo en la novela, un inmigrante ecuatoriano, que dedicó su vida al oficio de barman, especializado en servir tragos en un restaurante icónico en la Estación Central de Nueva York. Tiene bastante de una novela biográfica y algo de novela de ficción. Me había imaginado, que la novela trataría, por un lado de los esfuerzos que hace un inmigrante latino al llegar a tierras Americanas con las peripecias que uno suele pasar, y por otro lado de alcanzar a conocer un poco más la vida de los clientes del restaurante, vistos bajo los lentes de Marcelo, el camarero especializado en servir cocteles. Mientras avanzaba con la lectura, me di con la grata sorpresa de encontrar una prosa rica llena de dichos, refranes, proverbios que traen consigo consejos y moralejas -celeste al que le cueste- por ejemplo; también una serie de expresiones del folclore urbano latinoamericano -taita- por ejemplo, o expresiones colombianas como -masca chicle y no hagas bomba–de otro personaje de la novela oriundo de Colombia; pero algo que me hizo gracia, fue encontrar un abanico de palabras que algunos latinos como yo, solemos o solíamos pronunciar erróneamente -Niuyork- es una de ellas o expresiones en paralelo, contrastando la cultura latinoamericana y la cultura Americana -Los horarios se cumplen a rajatabla vs Abrimos cuando llegamos, cerramos cuando partimos. Algo que me sorprendió y que no lo esperaba, fue la adición de un nuevo personaje en la mitad de la novela, que resulta ser un aprendiz y que Marcelo le transmite todo el arte de su oficio, los secretos que ha adquirido durante sus años de barman encargado de los cócteles, y que por ende nos llega a los lectores. Algo que me hizo reír a carcajadas y también por supuesto de alivio fue poder dejar de sentirme un bicho raro, es decir -cuando tengo que decir en los restaurantes del Valle: por favor, poco hielo-, Marcelo nos enseña que a los clientes de New York, Marcelo les sirve los cocteles con hielo hasta el borde del vaso, mientras que a los clientes Europeos no más de tres cubos de hielo, y a los clientes Asiáticos nada de hielo. Es verdad que con cada lectura uno puede transportarse a diferentes escenarios y aprender algo nuevo, para hacernos la vida más amena, en mi caso, ya se que la próxima vez que vaya a un restaurante del Valle, pediré tres cubos de hielo y no me sentiré mal. 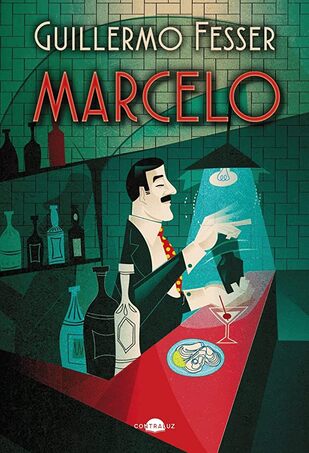 Marcelo, by Guillermo Fesser (Madrid, 1960)
This work by Guillermo Fesser, published in the year 2022 and found in the Basalt Regional Library, is based on the real life of Marcelo Hernandez, an Ecuadorian immigrant, who dedicated his life to the trade of a bartender, specializing in serving drinks at an iconic restaurant in New York's Central Station. It has quite a bit of a biographical novel and something of a fictional novel. I had imagined that the novel would deal, on the one hand, with the efforts that a Latino immigrant makes when arriving on American lands with the adventures that one usually goes through, and on the other hand, getting to know a little more about American clients seen under Marcelo's glasses. As I progressed with the reading, I was pleasantly surprised to find a rich prose full of sayings, proverbs, that bring with them advice and morals -celestial to whom it costs- for example; also a series of expressions from Latin American urban folklore -taita- for example, or Colombian expressions such as -chew gum and don't make a bomb– of another character from the novel from Colombia; but something that amused me was finding a range of words that some Latinos like me tend or used to mispronounce -Niuyork- is one of them or expressions in parallel, contrasting Latin American culture and American culture -The schedules are strictly adhered to vs We open when we arrive, we close when we leave. Something that surprised me and that I did not expect, was the addition of a new character in the middle of the novel, who turns out to be an apprentice and Marcelo passes on all the art of his trade, the secrets he has acquired during his years of bartender, and therefore reaches us readers. Something that made me laugh out loud and also of course relieved was being able to stop feeling bad, that is -when I have to say in the restaurants of the Valley: -Please, little ice-, Marcelo teaches us that American clients from New York, like the cocktails with ice up to the edge of the glass, while for European clients no more than three ice cubes, and for Asian clients no ice. It is true that with each reading one can be transported to different scenarios and learn something new, to make life more enjoyable. In my case, I know that the next time I will go to a restaurant in the Valley, I will ask for three ice cubes, and I won't feel bad. Blog by Gaby Lagos March is a time to honor women and learn more about the feminist perspective. Here are some new(er) essential reads to check out in honor of Women’s History Month, for every kind of person.
Compiled by Jess Hardin
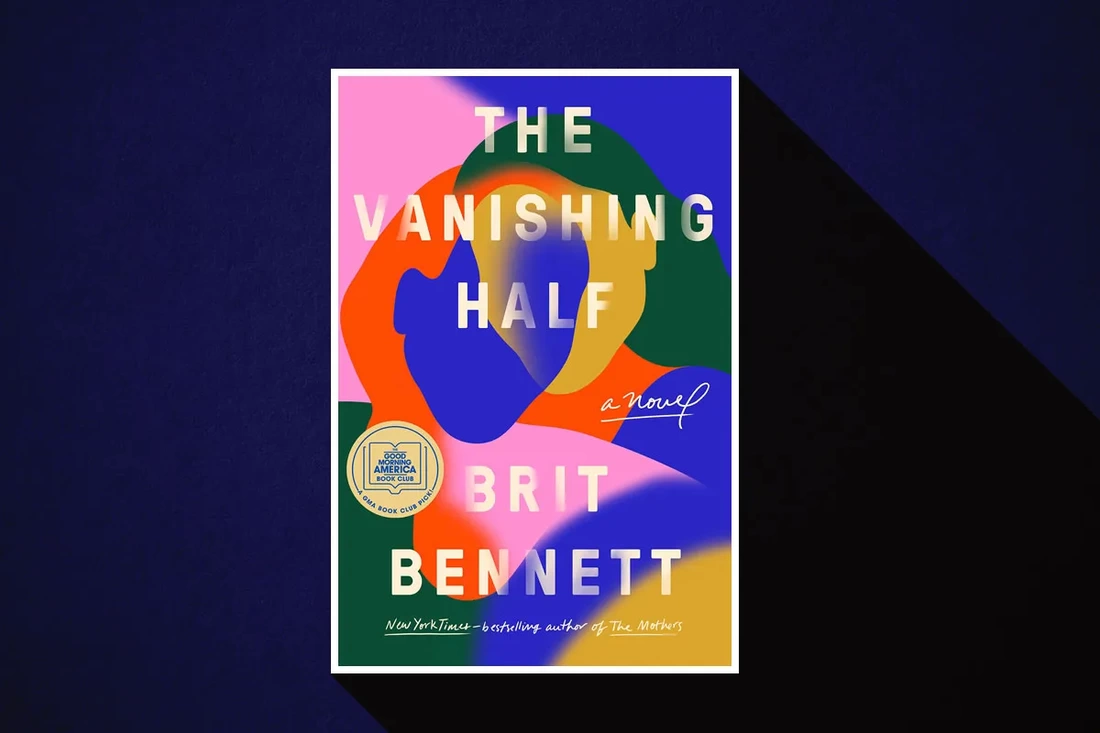 We (white people) should all be reading more Black authors and Black stories, especially this month, to honor an experience and history we could never imagine. The Vanishing Half is an inter-generational saga of the Black Feminist perspective throughout the latter half of the 20th century. Bennett intricately weaves together the lives of five women, spanning three generations, all a part of the same broken family. She eloquently describes how they go out into the world to find themselves and eventually find a way back to each other.
From childhood to adulthood, these women share dreams of escaping a small hometown, they love deeply and unapologetically, they lie and learn how quickly other lies pile on top to keep that first lie safe from discovery. They tell them sells they have to lie to protect themselves and their loved ones. They learn how to heal when the tower of lies they build comes crumbling down. Bennett also ventures into the mysterious connection between twins and how hard it is to keep your true self a secret from the ones you love. Most notably, Bennett illustrates how different life is depending on the lightness of your skin, from subtle differences to horrifying realities. The possibilities of passing to having reoccurring nightmares from witnessing your father’s lynching. It is a shocking, moving, empowering story of what black women go through every day. Full of the emotional turmoil between mothers and daughters, sometimes without forgiveness. These women find themselves in their own cross-hairs, making them face the question: were all the lies worth this? 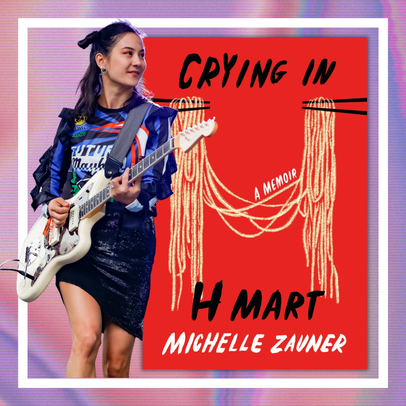 This memoir made me cry, everywhere I listened to it. More than that, it made me hungry. For those of you who don’t know, H Mart is an American grocery store chain of Asian supermarkets. It’s one of the few places Asian-Americans can experience the tastes of home. It’s a wonderful place, filled with so many foods I have never seen or heard of. I used to go all the time in Boston, but there are only two in Colorado. Michelle Zauner finds herself crying in H Mart, because it reminds her of her mother. In the only place in America Zauner is surrounded by people of all different Asian cultures, and immersed in the food of her homeland, she is flooded with memories of her mother.
Zauner grew up in Oregon, to a Korean mother and an American father. She seamlessly weaves mouthwatering descriptions of Korean food with the story of losing her mother to cancer. She scatters little anecdotes from her childhood and her adulthood, showing little pieces of who her mother was, her Korean culture, how Zauner was raised, and who she became. Her memoir is funny, sad, sweet, salivating and full of hope, while acknowledging the unending reality of loss. I highly recommend listening to Zauner read the book herself. Michelle Zauner is best known for her vocals in the alt pop band Japanese Breakfast. A band whose first album Psychopomp had a photo of Zauner’s mother, Chongmi, on the cover. The songs were written by Zauner when she was grieving her mother’s passing. Zauner planned to quit music after the album’s release, but it gained so much praise, the band continued and became the huge success they are today. Even though Chongmi never approved of her daughter’s dream of being a musician, she would be so proud. |
Adult News & reviewsLibrary news, info about upcoming events, reviews of books and films, and a look at the topics that affect us as a library. Archives
July 2023
|

 RSS Feed

|
General |
Borrowing |
About |